Extract The Project
This guide explains how to upload and extract your project files on the server to prepare for deployment.
Project Upload & Transfer
Before extracting, ensure you have uploaded your project zip file (e.g., code.zip) to the /home directory of your server using SFTP (FileZilla/WinSCP).
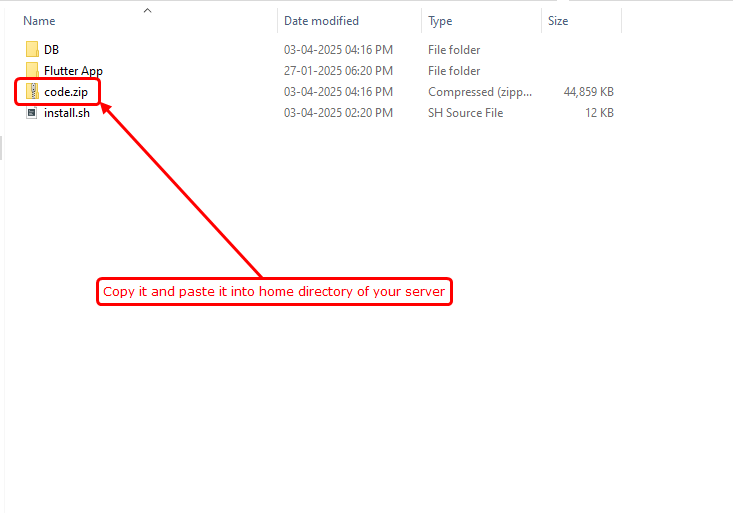
Uploading project files to the /home directory
Install Extraction Utility
First, install the unzip package to handle compressed project files.
sudo apt update && sudo apt install unzip -yNavigate to Home Directory
Move to the directory where you uploaded your file.
cd /homeExtract Project Files
Unzip the project into the current directory. This will create your project folder.
unzip code.zip -d /homeClear Terminal
Once the extraction is complete, you can clear the terminal screen for the next steps.
clearPro Tip: After extraction, you can delete the code.zip file to save server space using the command: rm code.zip
Next Steps
Now that your files are extracted, you can proceed to the Admin Panel Setup to configure your environment variables.