Admin Panel Setup Guide
This guide will walk you through the process of creating and running the installation script on your server. Follow each section carefully.
Switch to Root Directory
Open your terminal (Putty/CMD) and navigate to the system’s root directory.
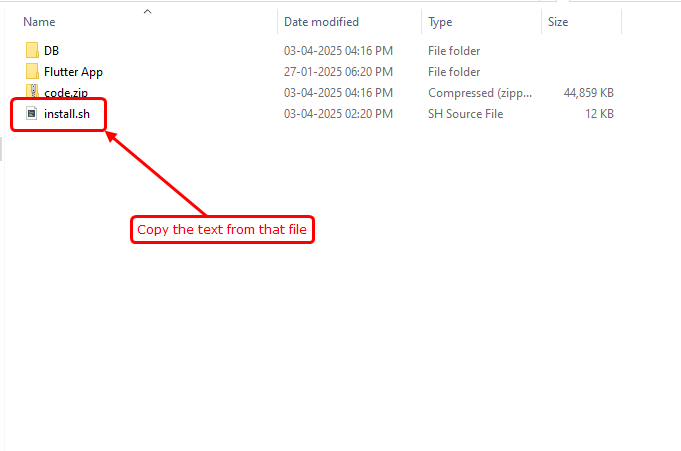
cd /Create install.sh in WinSCP
In your WinSCP application, go to the / directory and follow these visual cues to create a new file.

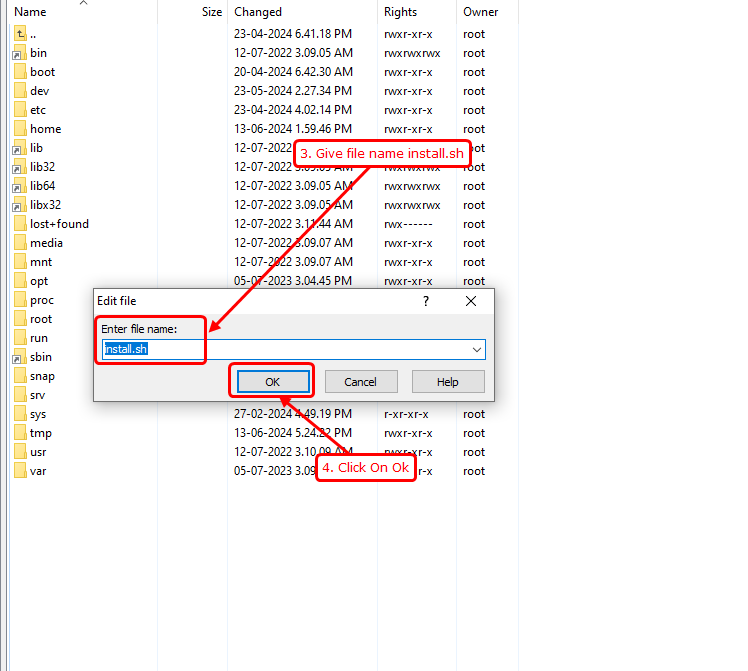
Paste the Script Code
Open the script provided in your package, copy all the text, and paste it into the WinSCP editor window. Save the file once done.
Run the Installation Commands
Now, use these commands in your terminal to start the automated setup.
We use dos2unix to ensure the script format is compatible with Linux.
sudo apt install dos2unix -y
dos2unix install.sh
chmod +x install.sh
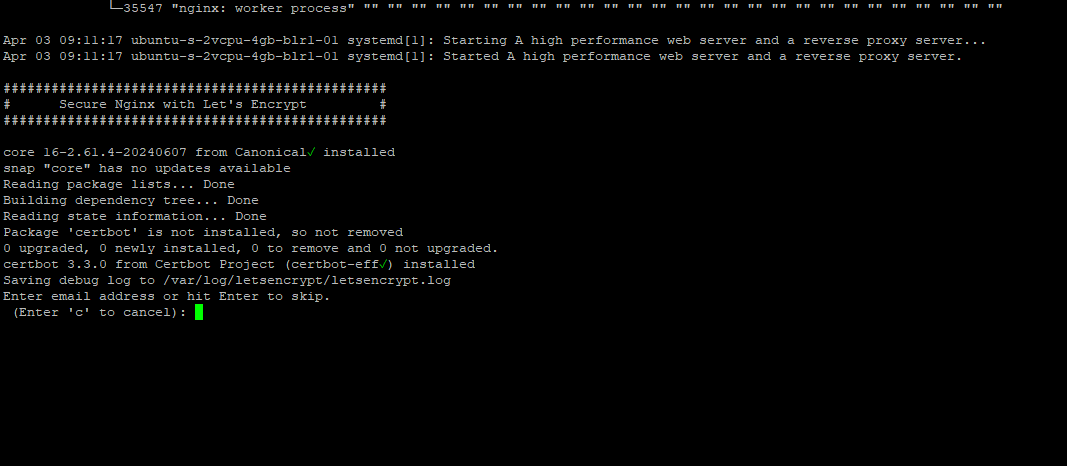
sudo ./install.shStarting the Setup
When the script begins, you will see a welcome message.
Action: Look for the prompt and Press Enter to continue.
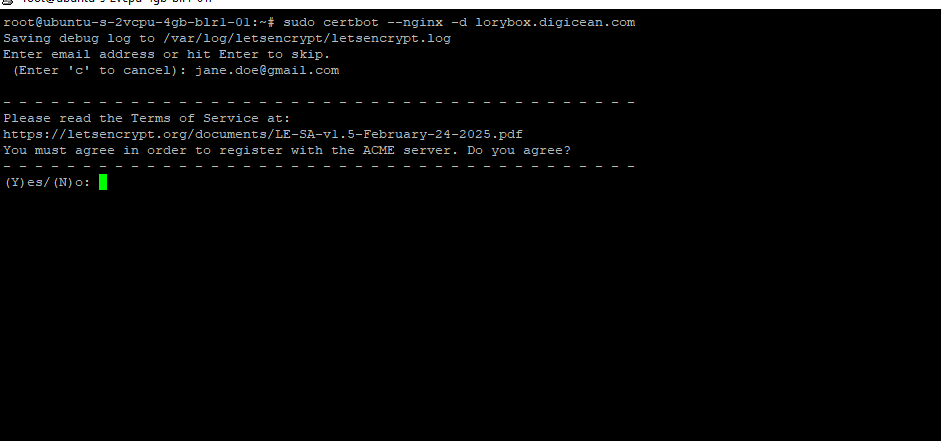
SSL & Email Configuration
The installer will ask for an email for SSL security. We recommend providing a valid email to receive security updates.
Successful Completion
Once all services (Node, Nginx, MongoDB) are configured, you will receive a success confirmation.

Congratulations! Your server is now ready. Total time taken: ~5-10 minutes.